

How is polyurea coating applied on concrete?
-
- April 19, 2019
Performance of the concrete coating is 80% reliant on surface preparation. If the crust doesn’t stick, it isn’t going to work.
Always begin with a test to assess surface contamination, looking for such things as oils, acids, salts, and other elements that will impair the coating. Based on the test results, follow with the correct approach to preparing the surface.
Extract grease and oil first by using an excellent commercial-grade degreaser or a hydrocarbon dispersant. Make sure you research local environmental compliance specifications—some cleaners and waste byproducts can’t go down a wastewater drain. Full containment and offsite disposal may be required, which adds another level of complexity.
Next are chloride and sulfate removal. Again, consider local environmental regulations when choosing the product and process. Use a widely accepted, commercially available chloride/sulfate extraction product.
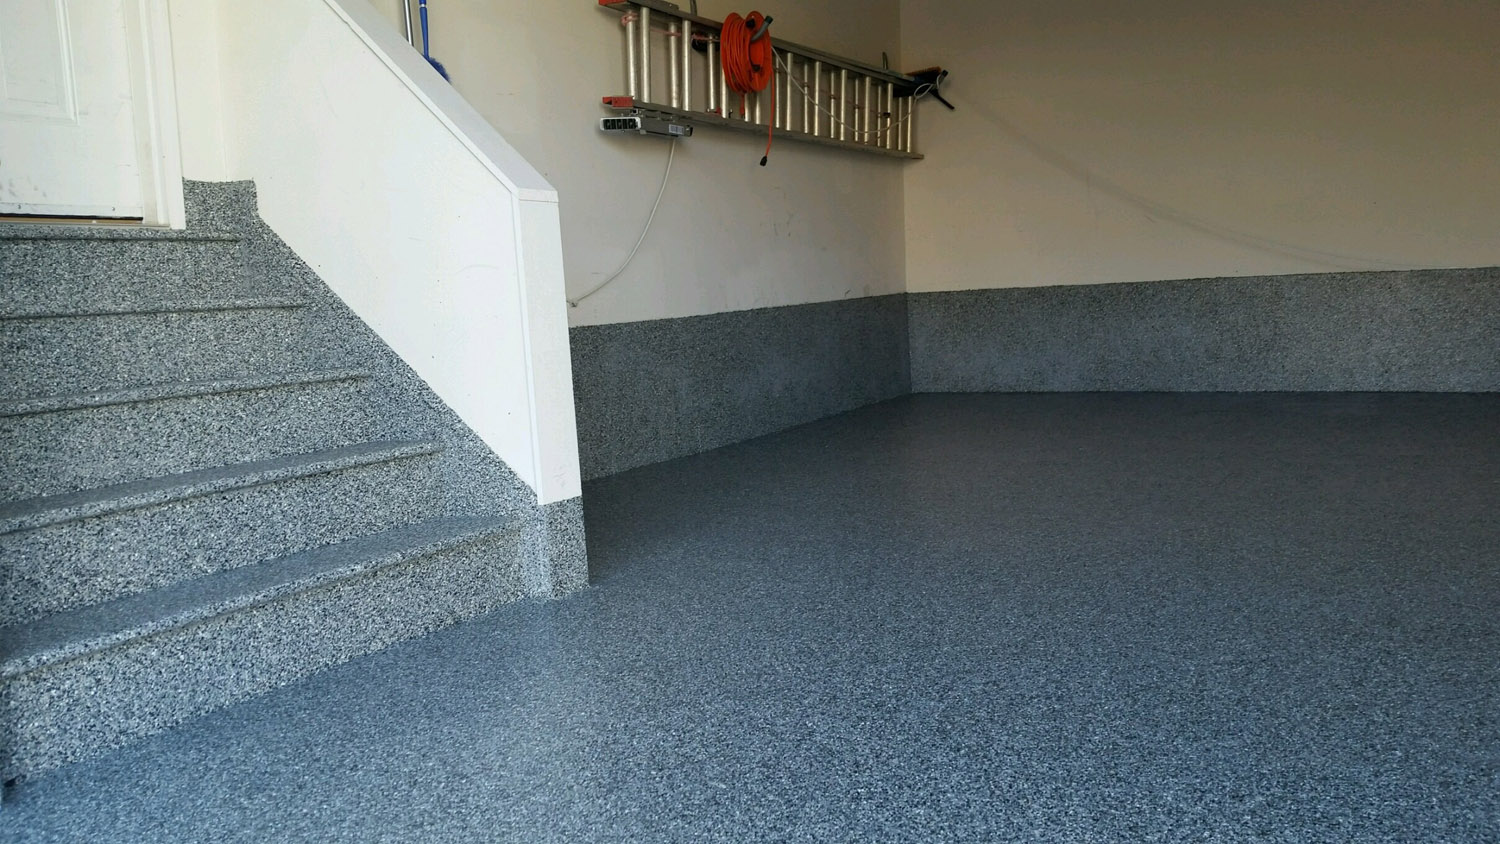
The purpose of proper surface preparation is to create a profile for a good mechanical bond for the spray-applied product. Shotblast the field area and use diamond grinders for edge detailing. Both of these are dustless methods using vacuum retrieval attachments. Strive to achieve a concrete surface profile of ICRI CSP3.
Before spraying, replace or repair caulking sealants and repair corrupted or spalled concrete surfaces that will receive new coatings. Cracks less than 1/8 inch get routed to a 1/2-inch V-groove. Fill the prepared cracks, expansion joints, and different transitions with a urethane sealant. This step is sometimes done after spraying if someone wants to exclude it from the warranty. Use caution here when working with inexperienced spec writers or owners.
Install the primer next, typically a 100% solids epoxy at 5 to 8 mils, and then broadcast #20 aggregate into the wet epoxy. The total also can extend the primer recoat window, making the working time more suitable for the crew.
Bag off and mask the area as needed to protect against overspray. Make sure all of the fixtures and vertical surfaces are covered. In some cases, this might include using wiretaps where a clean-trimmed edge is desired.
When spraying, work with the owner and manufacturer to define the result, making sure the correct product is selected and applied based on the warranty required by the owner.
There are three significant challenges when spraying. The first is the overspray. This is all about common sense. Pay attention to what’s around you and how the wind is blowing. Skip this step, and you can have a lot of unhappy vehicle owners.
Next are pinholes that can transfer through the base coating during the first two minutes of spraying. If this happens, stop spraying and prime again. A solution to outgassing, which directly relates to pinholes, is to apply the primer in the late afternoon when the concrete is cooling off. This creates a vacuum effect, which will pull the introduction into the concrete surface pores and imperfections.
The last problem—spraying off-ratio—can create a big mess. If the equipment operator monitors carefully, he will know right away that there is a problem. Some of the newer equipment reduces the chance of these issues by incorporating data recorders and alarms that control heat and pressure ratios; some will shut the pump down if set that way. The fix for spraying material off-ratio can be hours of rigorous cleanup. Pay attention, and you will dodge that bullet.
Finally, avoid problems with plural component spray through preparation and training. Train your teams to diagnose problems in their early stages. Replacing a 50-cent O-ring is much easier than tearing out and replacing 3000 square feet of the bad coating.